
GALENTINE'S BEAUTY BRUNCH
Have you ever had that feeling when you see a childhood friend after so many years apart, and you instantly just feel like you’re at home? Well I was so blessed to have that feeling times six when a group of my grade school friends got together for a special reunion weekend. All of us have such fun memories of sleepovers and play-dates growing up so I wanted to recreate those times with a beauty brunch. This Valentine’s, or should I say “Galentine’s” beauty brunch, infused with elements of the spa, was the perfect way to start off our reunion weekend at the lake house.
BRUNCH TIME
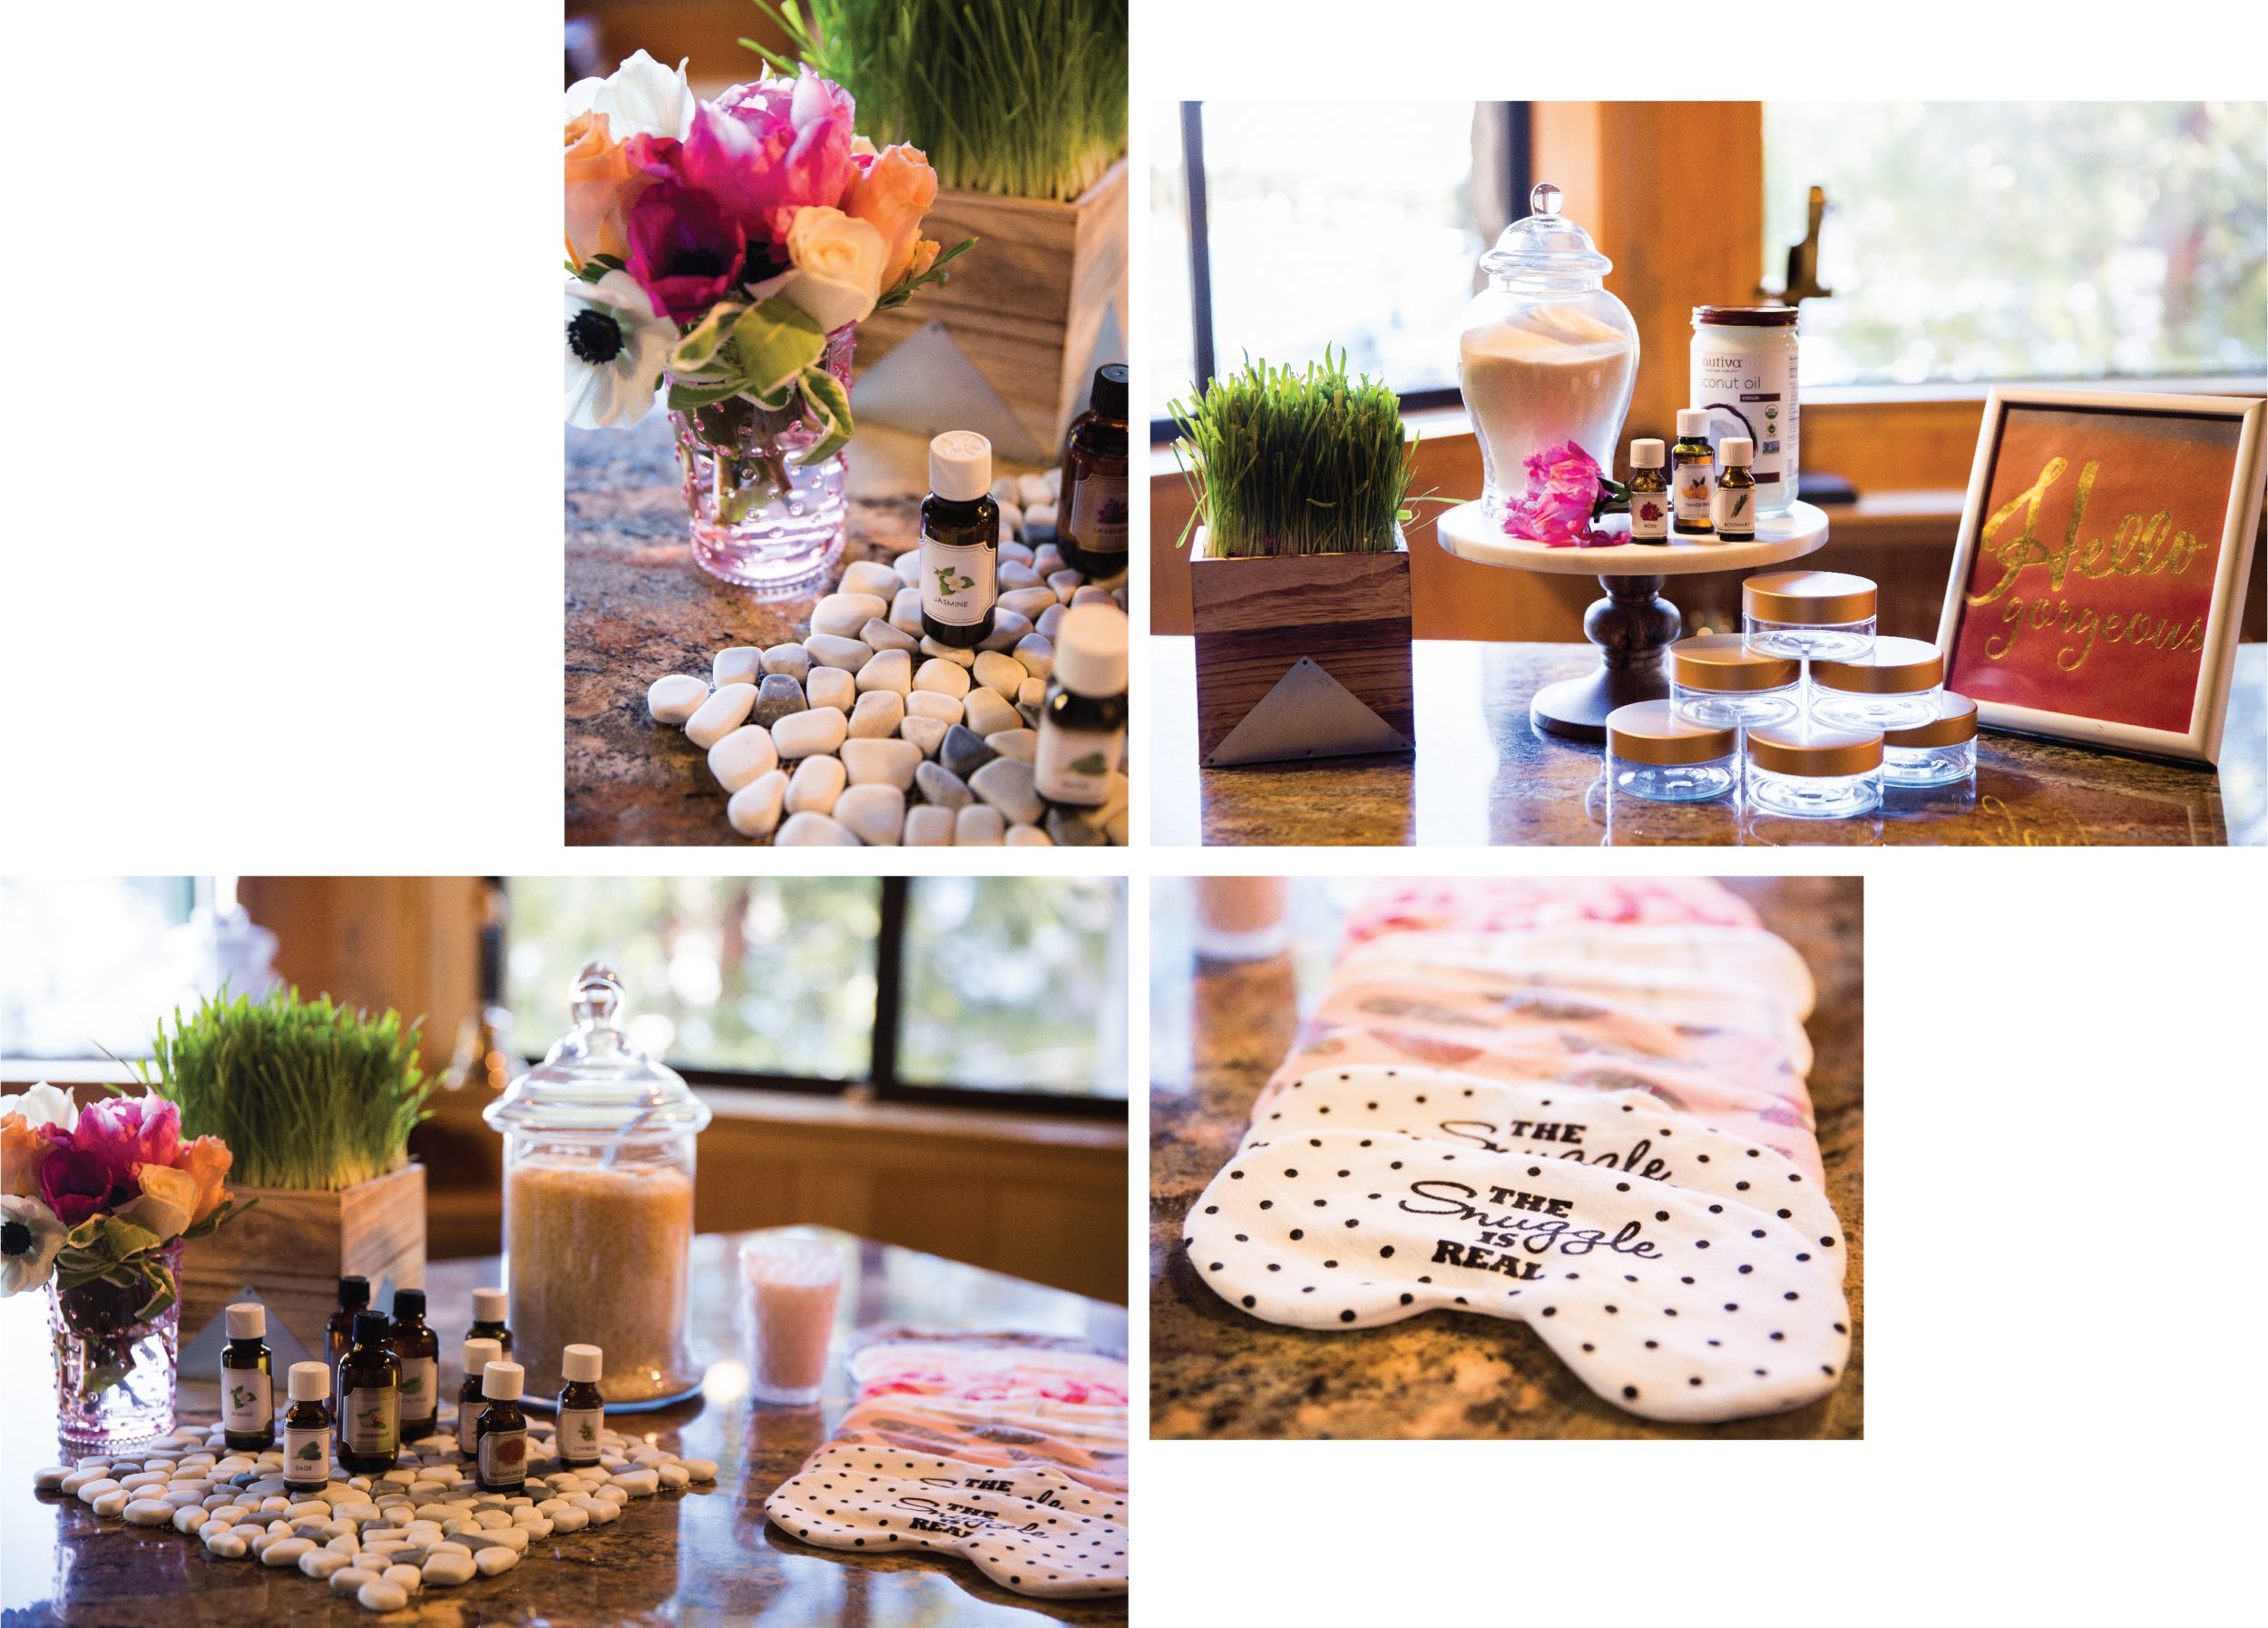
I wanted to create an environment that was girly, sweet and relaxing. To do this, I mixed together romantic touches of pink and sparkle with the natural elements of wood, river rocks and wheat grass. I loved movement that the ombre flower arrangements gave to the table. Personalized champagne glasses marked each girls seat, and the Sugarfina boxes were a special sugary treat. For food, I looked to the spa theme, fresh and healthy, with a diy smoothie-bowl bar that had all the toppings, plus yummy breakfast breads and donuts! And what would be a Valentine’s theme party be without cards? Thanks to Courtside Circle for her lovely beauty inspired glittery cards for special friendship love notes! These girls have known me almost my entire life and it was so special to celebrate together, catch up on life, and just laugh the entire weekend!

SPA MOMENT - DIY PROJECTS
I think great events involve some sort of activity or opportunity to create. For this spa inspired beauty brunch, I loved the idea that my guests could make their own beauty products and then take them home to enjoy. Both projects were super easy, personalized and something I know they will use all the time. Each project’s supply lists and instructions can be found below.
I can’t thank my friends enough for jumping right in and being a part of this Valentine’s inspired shoot. Alexei, Caitlin, Allison, Vanessa, Adriana, and Lisa – you are all such amazing women, and I am so blessed by you. We may not get to see each other all the time, but this reunion proved that when we do get together we are sure to laugh a ton, cry a little, DANCE like we’re the Spice Girls, reflect on how lucky we are, and know that we will always have each other no matter what life may bring. I love you girls.

Cheers to all our girlfriends and may we celebrate those relationships this Valentine’s Day too!
SWEETHEART SUGAR SCRUB

In these winter months, a sugar scrub to refresh our dry skin is essential. This scrub couldn’t be easier to make and is a great addition to your morning shower routine.
Supplies:
- 1 Cup Granulated Sugar (You can use brown sugar if you’d like)
- ¼ Cup Coconut Oil
- 5 Drops of Essential Oil (Any scent or combination of scents you like best)
- Mixing Bowl & Spoon
- Container or Jar for scrub
Instructions:
Melt Coconut Oil if it is solid at room temperature. In your bowl mix together the melted coconut oil, sugar, and your essential oil drops. Once it is a consistent texture spoon it into your container and enjoy!
SLEEPY SPA EYE MASK

This project does involve some sewing on a machine. However, to make it easier on your guests, you can do what I did and sew all your masks prior to the party and just let them do the easy part! I loved picking out all the fabric for this project – I found that a flannel for one side and something silkier for the other side was a good combination.
Supplies Needed for One Mask:
- Two 8”x 5” Pieces of Fabric (same fabric for both sides or two different is fine)
- Sewing Machine
- Eye Mask Template (trace the shape you want on cardboard or cardstock)
- 2-3 Cups of White Rice
- 3 Drops of Essential Oil (You can use one scent or a combination you like)
- Mixing Bowl and Spoon
- Funnel (If you don’t have a funnel you can use a piece of paper rolled up)
- Needle, Thread, Pen and Scissor
Instructions:
Through trial and error I found that for the best looking masks (specially if you use a silky fabric) the sewing should be done in a two-step process.
Making the Masks
First put the two front sides of your fabric rectangles together and sew them on all four sides with ¼ inch seam allowance.
Then use your stencil and trace your mask template onto the fabric.
Sew along the line you just drew, be sure to leave about 2 inches unsewn at the top of the mask so that you can eventually flip your mask right side out. Be sure to back stitch over the area you are leaving open for extra strength. I left the opening at the top of the mask.
Cut out your mask from your rectangle leaving about ¼ - ½ inch around your sewing lines.
Flip your mask inside-out so that right sides are now on the outside.
Filling the Masks
- Put 2-3 cups of white rice in a bowl and mix in your essential oil drops and stir until the oils are absorbed and spread evenly.
- Funnel the rice into the mask through the 2 inch opening.
- With your needle and thread, stitch up the opening in the mask to secure.
- Enjoy and Relax!
These masks can be heated in the microwave or put in the freezer to make them even more soothing!